|
|
|
|
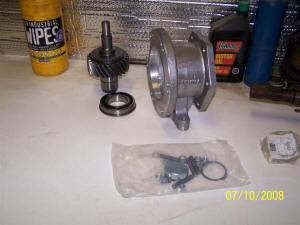
Advance Adapters P/N: 50-3204
I am having to install this kit because I exploded the Pathfinder adapter from the doner military conversion van. |
|
|
|
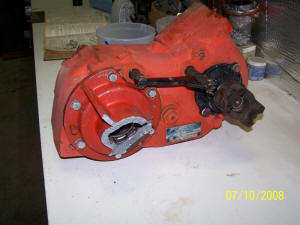
My np205 (ford).
As you can see the adapter bit the dust when the (to short) drive shaft came almost all the way out and got in a bind going back in. |
|
|
|
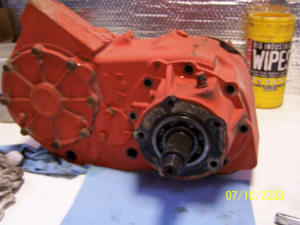
Yoke removed and seal housing.
|
|
|
|
|
|
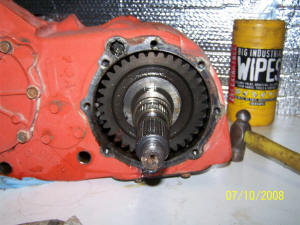
Bearing housing removed
|
|
|
|
Rear output shaft removed.
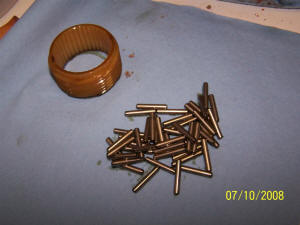
When you pull the shaft cover, there are several small needle bearings that fall everywhere. Be careful not to lose them. I kept the speedometer gear with the bearing as a easy way to tell where they came from. I put them in a small plastic bag. |
|
|
|
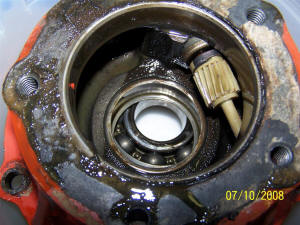
Rear output bearing housing.
This is the race that the previous bearings came from. |
|
|
|
|
|
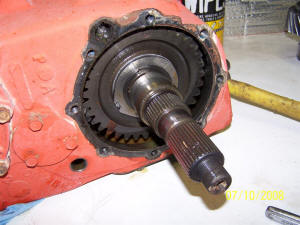
Rear output shaft removal.
There are 15 larger needle bearings inside this shaft that will fall out upon removal of the shaft. |
|
|
|
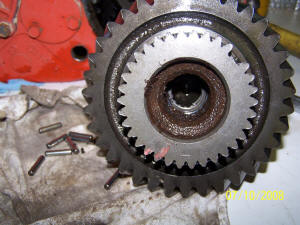
Output shaft.
This shot shows some rust inside the shaft, but surprisingly the needle bearings were fine. You can see part of the bearing retainer and clip in this photo. |
|
|
|
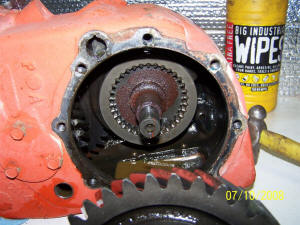
Input shaft
You can see the rust I mentioned before, this doesnt even need to be cleaned because this is the original 31 spline that the new 32 spline replaces. It cant be reused either because I destroyed it also. |
|
|
|
|
|
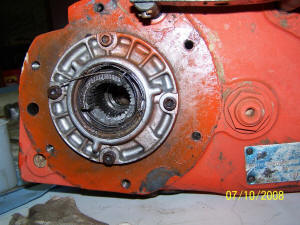
Input shaft busted.
Told ya I broke it. |
|
|
|
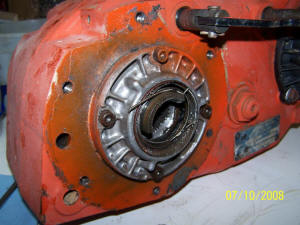
Input shaft with a different angle.
|
|
|
|
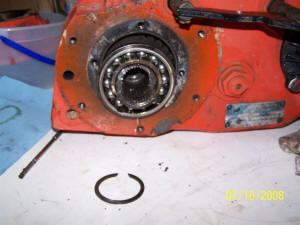
Input shaft removal
I pulled the seal housing and then the bearing retainer.There is one around the bearing that does not have to be removed. The small one around the shaft next to the bearing is the one to remove. |
|
|
|
|
|
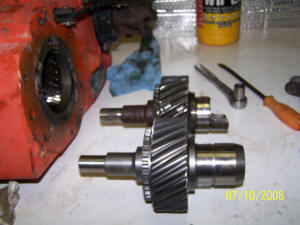
Input shaft comparison.
The new shaft beside the old shaft. The only different is the new one is a 32 spline. The old one is 31 spline. |
|
|
|
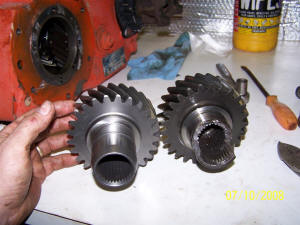
Input shafts different view.
The new one with 32 spline is needed because the output shaft on the TH400 slips directly into the input shaft on the 205. No sleeve is used. |
|
|
|
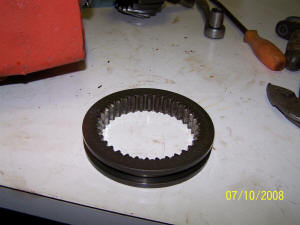
Shift collar remover from input shaft.
|
|
|
|
|
|
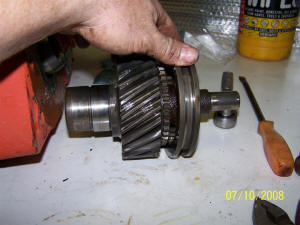
Input shaft with shift collar.
|
|
|
|
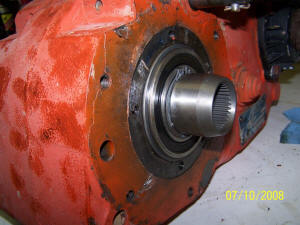
32 spline input shaft
This shows the input shaft installed with the new (included in kit) snap ring and bearing. |
|
|
|
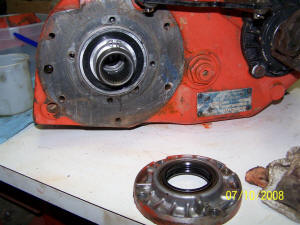
Input bearing housing.
Ready to install seal housing. |
|
|
|
|
|
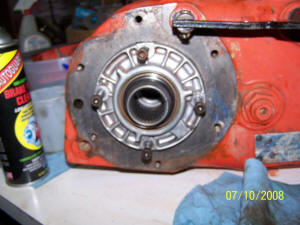
Input shaft seal housing.
Installed and ready to go. |
|
|
|
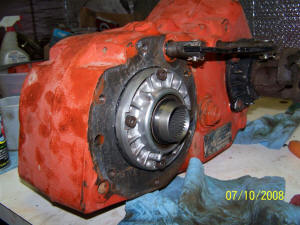
Input shaft side view.
|
|
|
|
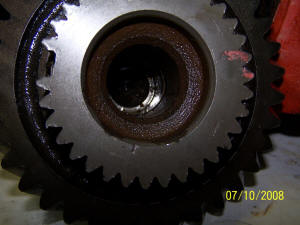
Output shaft internal bearings
This is with the clip and retainer removed. |
|
|
|
|
|
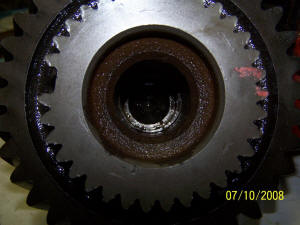
Output shaft bearing
Different view. |
|
|
|
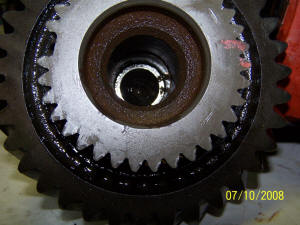
Output shaft internal bearing
I shot several views of this trying to get a good one to show detail. |
|
|
|
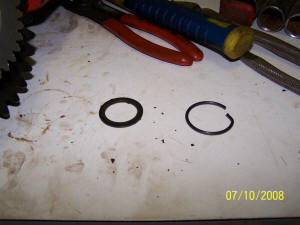
Output shaft internal bearing retainer and clip
|
|
|
|
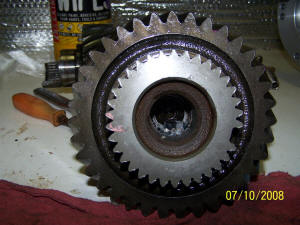
|
|
Output shaft needle bearing installation
The rear output shafts needle bearing were installed usinf a long pair of Hemostats. I dipped the needle bearings in Vasoline. |
|
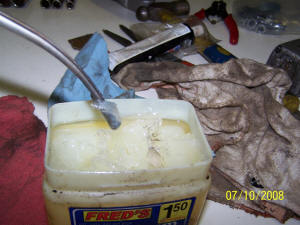
|
|
Rear output shaft internal bearing install.
Dipping the bearings in vasoline to hold them in place inside the shaft. |
|
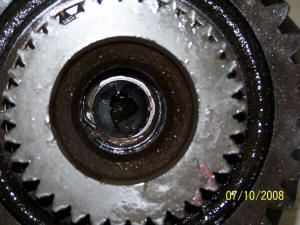
|
|
Bearing retainer and clip installed.
The retainer is basically a washer and the spring clip just snaps into a groove to hold it in place. |
|
|
|
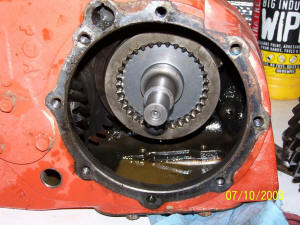
|
|
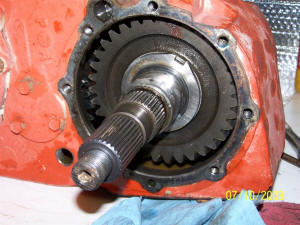
Rear view of input shaft.
This is the input shaft with the shift collar installed. The best way I can see to do it is bolt the seal housing on the front so it won't run away from you. |
|
|
|
Rear output shaft installed.
|
|
|
|
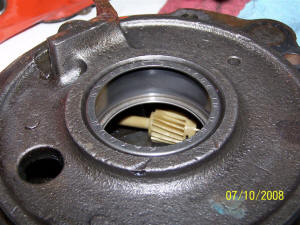
Rear output bearing housing.
This is a shot of the rear output shaft needle bearing retainer. |
|
|
|
|
|
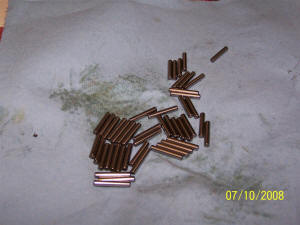
Needle bearings for rear output.
These go in the retainer in the previous picture. |
|
|
|
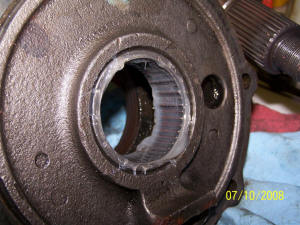
Vaseline again.
Using it to hold the needle bearings in place. |
|
|
|
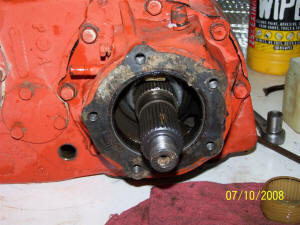
Output shaft and housing installed.
|
|
|
|
|
|
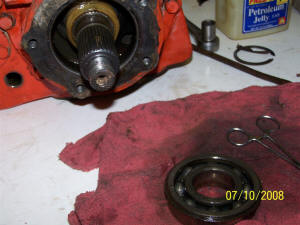
Rear output bearing.
|
|
|
|
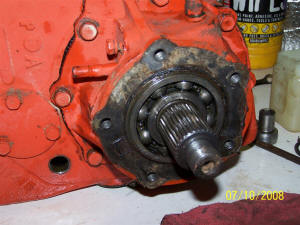
Bearing installed.
Rear output shaft bearing installed. |
|
|
|
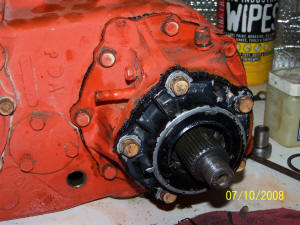
Rear seal housing installed.
|
|
|
|
|
|
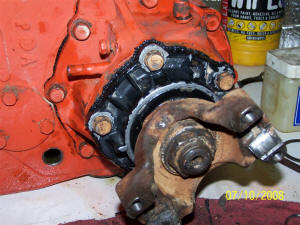
1410 Yoke bolted on.
|
|
|
|
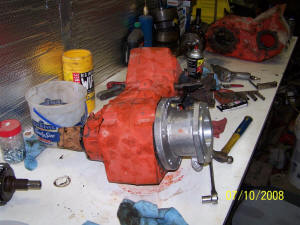
Advance Adapters Ford NP205 to TH400
Adapter slid on for a picture. |
|
|
|
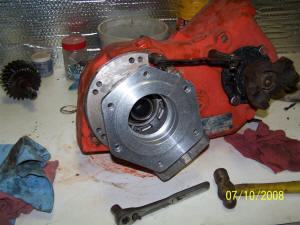
Different view.
|
|
|
|
|
|
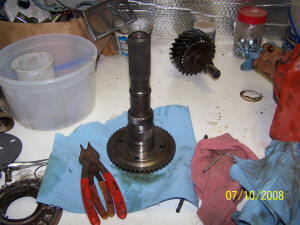
Next part of the conversion.
I will have more pictures when I disassemble the TH400 to install this 2wd output shaft. The length is different between the 2wd and the 4wd so a shaft replacement is in order. This shaft is not included in the kit.. |
|
|

